Geo Data Collect
| Geo Data Collect for Android | |
|---|---|
| Author: | Humanitarian OpenStreetMap Team |
| License: | GNU General Public License v3 |
| Platform: | Android |
| Status: | Broken |
| Version: | 1.1.6 (2015-11-30) |
| Languages: | English |
| Website: | https://github.com/hotosm/Geo-Data-Collect |
|
a mobile application used to assist you in doing the field survey | |
One of the important thing in mapping is doing field survey. Field survey is a method to determine a location in the object such as latitude and longitude coordinates, and collecting various information from the object in field. For example, we are doing survey to determine the point of school in our area and collecting the school information such as name of school, total of student, building level, and the other information we can get from the object. By doing the field survey, we can provide the data and information accurately according the existing conditions in field.
For doing the survey required a tool to assist in the collection of data and information is GPS device and survey paper. Both of these tools we carry during field survey. For helping us in doing the field survey, Humanitarian OpenStreetMap Team Indonesia (HOT ID) launched a mobile application called Geo Data Collect (GDC) (on GitHub). Geo Data Collect is a mobile application used to assist you in doing the field survey. The function of application is combination between GPS with survey paper so that when we want to do a field survey, we do not need to carry the GPS device and survey form but we just need to install this application in smartphone, we can do field survey easily, quickly and accurately.
Screenshots
Track File and Form XML Location
If the track has been exported from Geo Data Collect application, the track will be located in a directory by default named according to the date when the track field surveys conducted, as example 2016-02-29_11-56-36. Naming track can be customized by each user, if you want to change the name, go to Track Details menu. The directory can be found in File Manager or the SD/USB directory and the osmtracker/ directory in your smartphone.
While for the downloaded form XML and the saved form from field survey can be found in File Manager or the SD/USB directory and the odk/ directory in your smartphone. For the downloaded form XML from server located in the odk/forms and then for the saved form located in the odk/instances directory.
Base Map in Application
Map is used as background in the Geo Data Collect application is OpenStreetMap. This map will appear when the smartphone connected to internet, if it is not connected to internet, the map will not appear. This application can not add tile map in offline.
How to Use Geo Data Collect
The following are the steps of Geo Data Collect usage are :
- Make sure the Geo Data Collect application has been installed and GPS has been activated in your smartphone. If you do not have this application yet, you can download in Play Store in your smartphone.
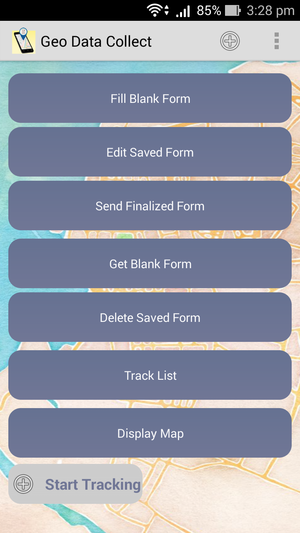
- Then open the application. In the main page, there is the variety of menu such as in the display below.
- Before you start tracking, we first enter the survey form that we have made into the application by clicking Get Blank Form. For example, we have made tutorial about how to create an online survey form using ona.io website, You can create an online survey form in the other website such as Formhub, KoBo, Enketo, etc.
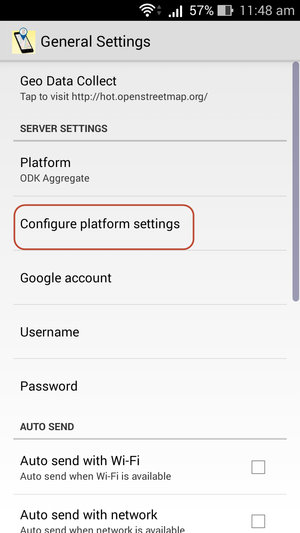
- Then click on the top right corner to make the settings, click General Settings, click Configure platform settings and appears ODK Aggregate Settings page.
- To insert the survey form which we have made previously, click URL menu and insert the URL of survey form in Server URL, for example http://odk.ona.io/adityo, then click OK.
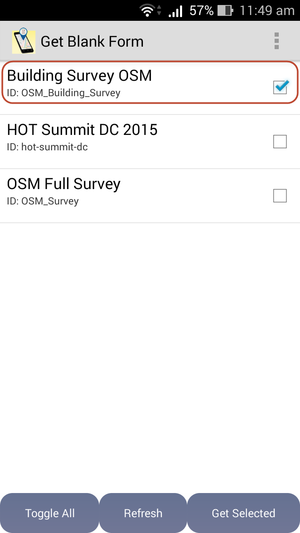
- After that, return to the Get Blank Form page, click Refresh and this application will connect to server. Then the name of survey form will appear in the page and check the box.
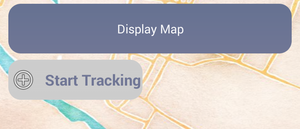
- Once the survey form have been entered in the application, it's time we start a field survey by clicking Start Tracking.
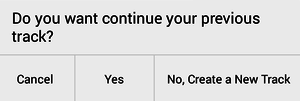
- If the warning appears “Do you want continue your previous track?”, click Yes to continue the track that exist previously, while click No, Create a New Track to start a new track.
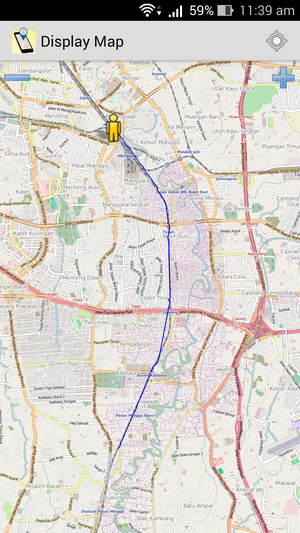
- Then appear display map where we can see the current location marked with the yellow symbol. Make sure a GPS signal marked with signal bar in the top right corner marked the green color so that the level of accuracy obtained more accurately. The smaller the number of accuracy then the location obtained more accurately and accordance with the current location.
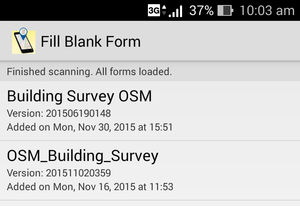
- To mark the mapped object and write all information in the object, return to Fill Blank Form menu, then select a survey form which we have been inserted and appear the page as below.
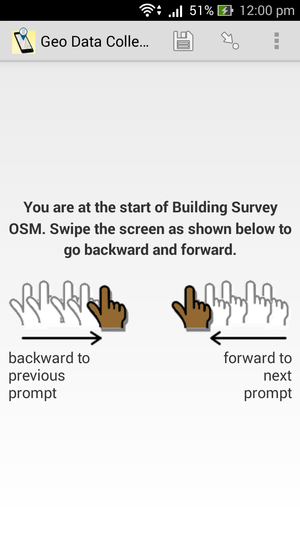
- Drag the screen to the right to fill a information in an object in survey form, fill information in accordance the survey form which we have created to complete and the information obtained should correspond to those in the current at the time. If you want to return to the previous survey page, drag your screen to the left.
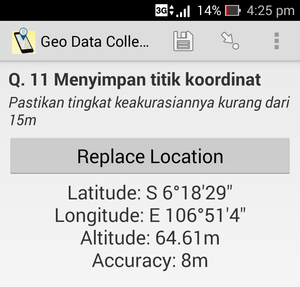
- After entered to the part of coordinate storage, click Record Location, make sure the level of accuracy less than 15 m, and click Record Location.
- Then give the name of form, for example: OSM Survey, then check the Mark form as finalized description, and click Save Form and Exit.
- Do the steps above to mark the next object until all objects have mapped.
- If the field survey has been completed and all data have been collected, you can click Stop Tracking to disable the recording track. If you want to see the track display when in the field, please you go to the Display Map menu later you will see your track when surveying in the field.


