Gpx2png
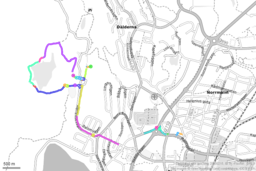
gpx2png is a Perl script that downloads tiles, combines them into large images, draws your .gpx files on it and saves the result as a .png image file. This script is released under the GNU Public Licence version 3 or any later version. An example from a tour (both tracks and waypoints) in Skövde, Sweden is shown on the right.
Questions and Bug Reports
Please send questions, suggestions, feature request, and bug reports to the author.
Download
As of June 2021, a version is maintained by Grégory David here and make it working with new OpentopoMap URLs.
The old version is available for download from Gitorious, where the repository is available as well.
Runtime requirements
You will need the following Perl packages to run gpx2png successfully:
- Math::Trig
- Image::Magick
- LWP::UserAgent
- Getopt::Std
Usage
In the most simple case, you run the script by providing only the .gpx filename:
perl gpx2png.pl mytrack.gpx
The script will try to guess an appropriate zoom level, use default values for all settings and save the resulting image into map.png.
You can also provide a list of .gpx files to process:
perl gpx2png.pl day1.gpx day2.gpx day3.gpx
To get a list of all option and switches, run the script with -h:
perl gpx2png.pl -h
Image Handling
You can configure from which tile server the tile images shall be fetched. A number of sources are preconfigured, such as mapquest or toner. To switch to another map source, use the -t switch:
perl gpx2png.pl -t toner mytrack.gpx
Using ImageMagick's Perl bindings, gpx2png will decrease the tiles' saturation and increase their brightness.
There exist two special backgrounds: white will simply use a white background image (no map), transparent will use no background at all. Those two backgrounds will also change the color of drawn tracks (details below).
The resulting file will be save by default into map.png. To overwrite this default, use the -o switch:
perl gpx2png.pl -o mytrack.png mytrack.gpx
This script saves only PNG files (even if you provide a filename with a different suffix), but you can use your favorite image tools to convert to another format.
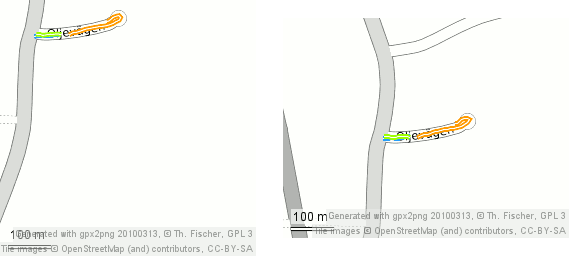
By default, the script includes all 256x256px tiles from a rectangular area as defined by coordinates in the .gpx file. Tile images within this rectangle will be included in the final image, even if they are not touched by a coordinate. To draw only tiles touched by coordinates, switch to 'sparse' mode using the -s switch:
perl gpx2png.pl -s mytrack.gpx
The resulting image size will always be a multiple of the original tile size (256x256px). To force a given padding around drawn tracks, use the cut switch -c followed by a numeric value representing the number of pixels between any drawn line or waypoint and the image's border:
perl gpx2png.pl -c 100 mytrack.gpx
Zooming
This script tries to determine an appropriate zoom level by default. The zooming level is set so that the image is composed of not more that 32 tiles. In most cases, the number of tiles will be much smaller, as each zoom level increases/decreases the number of tiles by a factor of 4. You can overwrite the limit of tiles in autozoom using the switch -a:
perl gpx2png.pl -a 16 mytrack.gpx
Alternatively, you can set a zoom level using the switch -z. Depending which tile set you are using, only for a limited number of zoom levels tile images will be available.
perl gpx2png.pl -z 9 mytrack.gpx
Drawing Tracks and Waypoints
The script reads all trkseg sections from all given .gpx files and draws them on the map. The color for each segment is determined by cycling through a number of bright colors (see source code for details). The same color scheme is used when drawing circles for waypoints.
Geocaches will be drawn with a small package icon which gets fetched from OpenClipArt.org (part of the Tango project, Public Domain). The cache's name (GCXXXX) will be drawn below the icon.
The special backgrounds white and transparent change this color scheme by using only a single color: black with an alpha value of 40%. If you have multiple track segments on the same way, those gray lines will add up to a darker gray and eventually black.
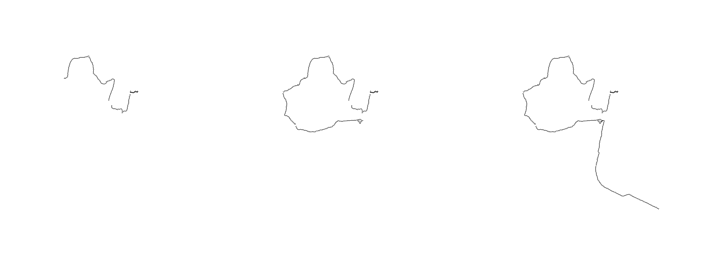
To generate animations, you can tell this script to save intermediate image files after drawing each segment. These intermediate files will have the same base name, followed by a 5-digit number, e.g. map00001.png, map00002.png, ...
perl gpx2png.pl -t white -A day1.gpx day2.gpx day3.gpx
Adding Photo Thumbnails
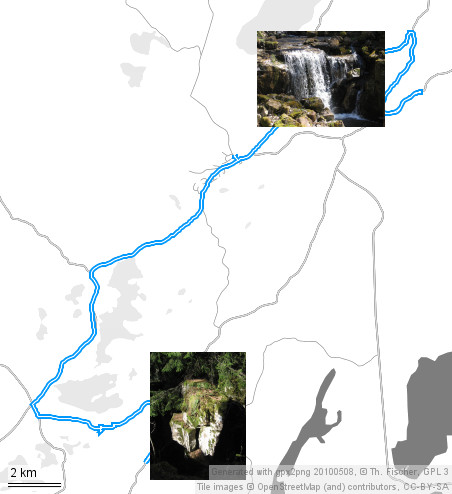
If you tag you photos with GPS coordinates (e.g. via digiKam's GPS Sync), you can supply a list of JPEG filenames to this script and render thumbnails on the map at the position corresponding where the photo was taken originally. Supply one or several -j switches to the script to pass filenames of photos. Use the optional -J switch to set the size of the thumbnails (default is 128):
perl gpx2png.pl -j geocaching1.jpg -j geocaching2.jpg -j geocaching3.jpg -J 300 mytrack.gpx
The script will even print out HTML code for a image map, which can be used when embedding the map image in a web page:
<map name="gpx2png">
  <area shape="rect" coords="542,471,670,567" href="geocaching1.jpg" />
  <area shape="rect" coords="435,792,531,920" href="geocaching2.jpg" />
</map>
Tips
Using the OpenRouteService.org website, you can search for routes between two locations. Routes can be calculated for cars, cycles, or pedestrians. The result of this search can be exported as a .gpx file which can rendered using this script.
By cutting away sections of the points in the route's .gpx file, you can "zoom" into interesting regions of the route, e.g. close to your starting or end point.


