Import DRC DIAF Roads Workflow
In this wiki we will:
- present the general import rules in OSM, then the data itself and the tool set to make the import.
- describe step-by-step a workflow to make the import, with screenshots and tips.
Presentation
Import rules in OSM
The roads data from the Direction de l'Inventaire et de l'Aménagement Forestier (DIAF), for the Democratic Republic of the Congo, is to be imported into OSM and consequently, needs to follow the guidelines of any to-be-imported dataset.
The dataset has been analyzed. Its attributes had already been converted into tags, presented and validated to the imports mailing list through a previous import task (under the name of "WRI Congo Basin Forestry Roads"). WRI DRC forestry roads were actually a subset of the current DIAF dataset.
Any import must be done through a specific OSM user account. So the advice is to create a new OSM user account (eg the usual name with _import at the end) from a secondary email address.
The DIAF data
This data consists of 31,150 road segments. Accuracy of those segments vary, so different approaches will be followed depending on the quality of each segment.
During the import we will put changeset tags that indicates the source. Nonetheless, it is useful to keep the source tag for each object as the changeset information is not forcefully got from any OSM extract tool, the metadata can disappear easily once the information is shared and shared, and the source can be a very useful information for people who will work with this data.
An import through the Tasking Manager
Due to the need to merge these data with the roads already in the OSM database, and because of the aforementioned issue with data accuracy, data will be imported with a control check of each object. Several specific Tasking Manager projects have been created for this purpose.
Generally speaking, a user will choose one task (tile), OSM data for that task will be loaded in one layer in JOSM, and the extract of the DIAF data to be imported over that area will be loaded into another layer. The users will work with the correction of DIAF data, and then merge the resulting data with the OSM data of the first layer.
Workflow
The workflow will show:
- first the common steps to start
- then will focus on how to correct, prepare and upload the DIAF data, including the required changeset tags, with your OSM special import account
Load the data
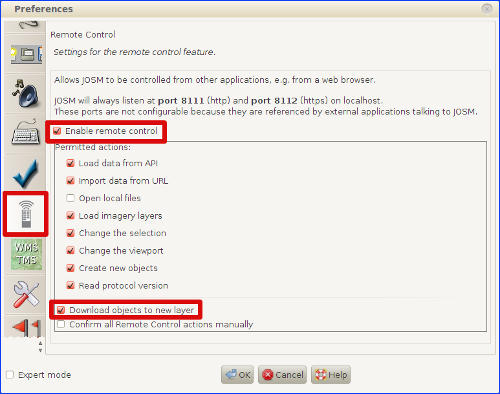
Open JOSM and, before you do anything, check that you have the remote control enabled and the Download object to new layer box selected in the JOSM preferences:
Open the Bing Imagery. For the areas where Bing is not available, you can try the Mapbox imagery too, which covers a few areas where Bing does not.
Let's start now:
1) Go to the Tasking Manager project of your choice.
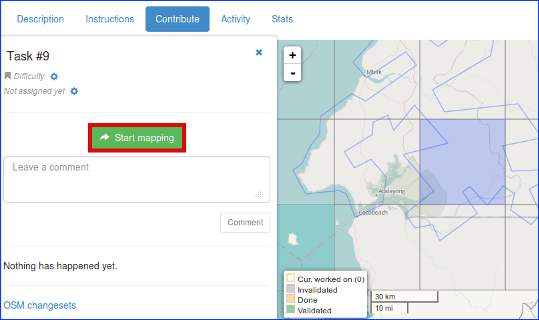
2) Choose one task and click on the Start mapping button.
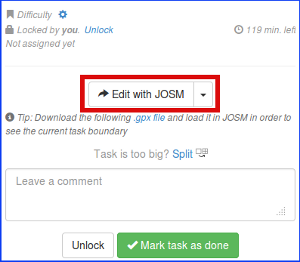
3) Next, clicking on the Edit with JOSM...
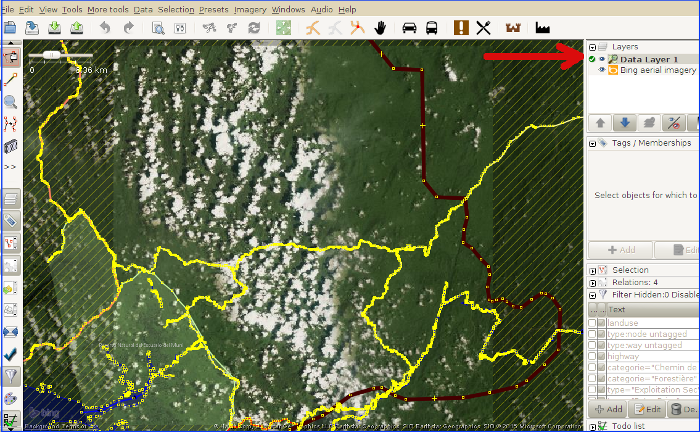
...you will download the OSM data into one layer called "Data Layer 1" or similar:
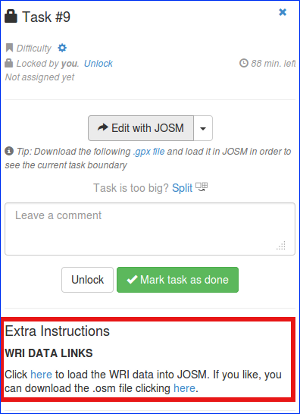
4) Once the OSM data is loaded, click on here in the sentence Click here to load the DIAF data into JOSM under the Extra instructions at the bottom of that same page:
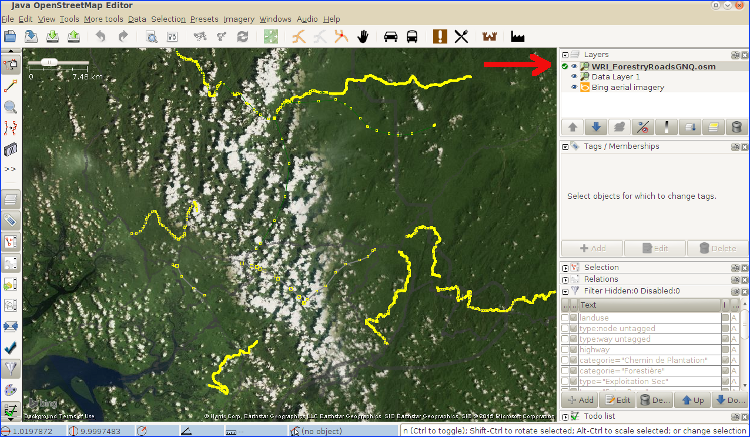
A DIAF_RoadsXXX.osm new layer will be loaded, where XXX is the iso code for the province the data belong to:
Correcting errors
5) Next step is correcting errors and modifying geometries with a not acceptable level of accuracy
5.1) First thing will be to check for segments that are already mapped in OSM. There are several reasons for this to happen:
a) Although care has been taken on deleting all DIAF segments that are in OSM from the data files, there may be some segments still left.
b) During the time since the last version of each file, other users may have added some tracks to OSM that conflict with those in the DIAF files.
In both cases a) and b), we will look carefully to both geometry and tagging of the OSM way that conflicts. We will keep the best geometry of both the OSM and DIAF ways, and respect to the tagging, we will add the information of both segments to the final one.
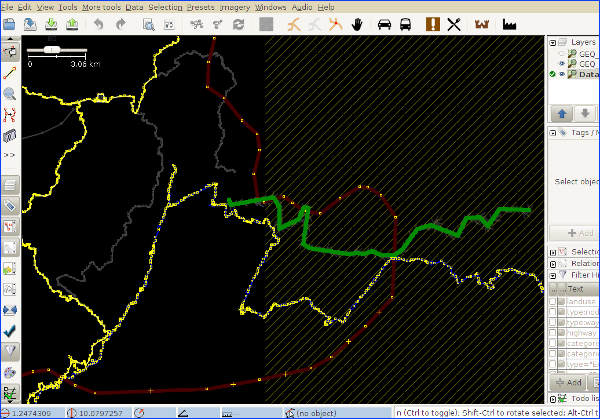
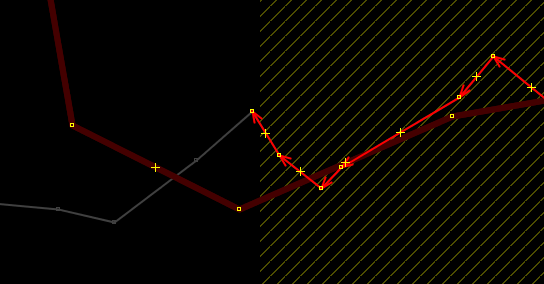
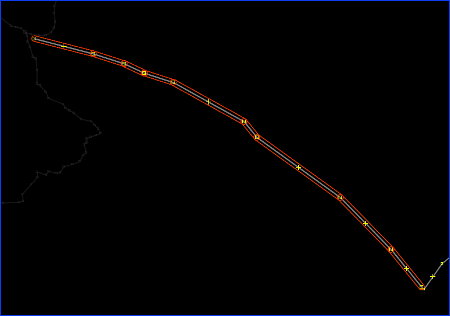
c) When we download the DIAF data with the Tasking Manager, it retrieves all segments that have at least one node within the task area. So, for every segment that stretches through 2 or more task tiles, it will be downloaded for each of the tasks. In the next screenshot, we have a track that start towards the Eastern edge of the task and goes well beyond it (highlighted in green):
We will only import the part of the segment that falls inside our task area plus the first node out of it, and delete the rest of it.
In case the part that falls into the area of the neighbour task (the one to the East in our case) hasn't been imported yet, we will just split the way in two parts (keyboard shortcut P) from the first node out of our task...
... and delete the part of the segment that falls out (Eastern part in our example):
In the case that the next part of that segment has already been imported (Eastern part for our example), then we will have that part already in our OSM layer:
This time, we will split the segment from the last node inside our task and delete the part outside the task area (Eastern part for the example):
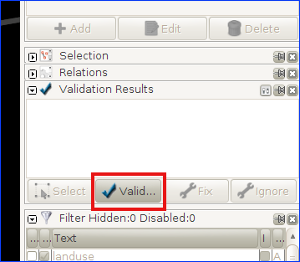
5.2) Second thing we will do is correcting errors like duplicated nodes, non-connected ways that should be connected (overshoots, undershoots, dangles...), etc. To look for these errors, we will run the JOSM validator (keyboard shortcut Alt+Shift+V) with the DIAF data layer active:
Typical errors and warnings:
a) Duplicated nodes or ways:
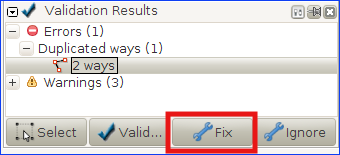
Both duplicated nodes and ways can be fixed automatically with JOSM. Just select the duplication you want to correct and click the Fix button. In the next example, we fix one duplicated way:
If you had more than one different duplicated way, you could select Duplicated ways and JOSM would fix them all at once (the same applies to duplicated nodes).
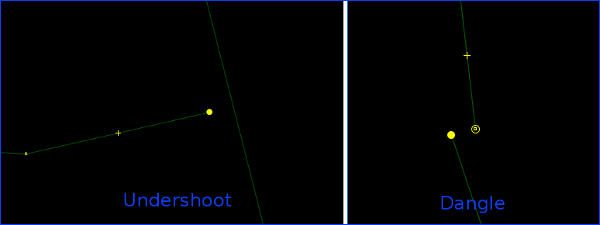
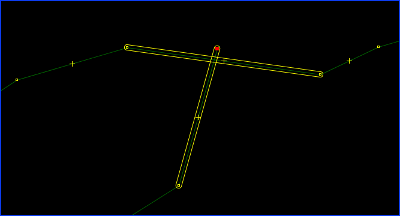
b) Way end near other highway. This means typically an undershoot or a dangle:
In case of overshoot, we correct it placing the node over the other way and joining (shortcut J). In case of dangle, we just place one of the nodes over the other, and we merge (shortcut M).
c) Crossing ways:
One case is the overshoot. In this case we correct it as with the undershoot.
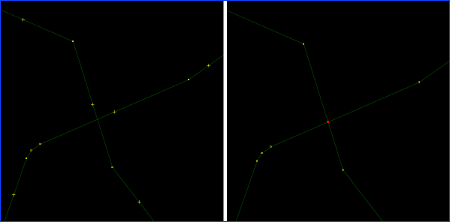
Another one is two ways crossing each other. In this case we create one node in the crossing point of both:
d) Overlapping and self-intersecting ways and highways. Lets see it with some screenshots:
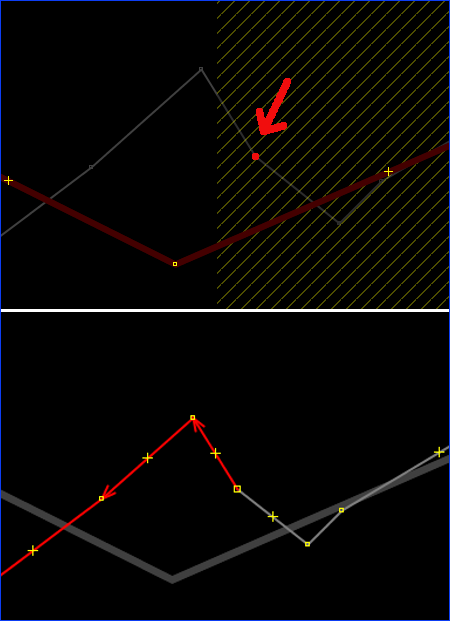
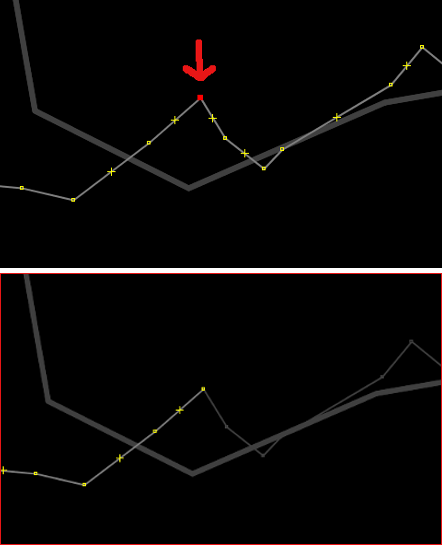
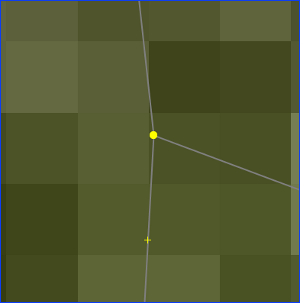
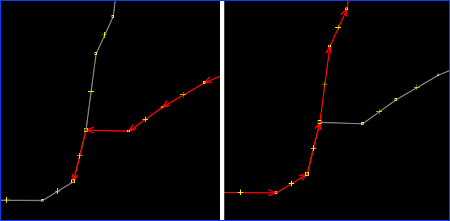
It shows two ways overlaping in only one segment. In this case, we can solve it selecting the South node on the overlaping segment, ungluing it (shortcut G) moving it and deleting it:
In the image to the right, we can check that the way to the right is now not overlapping the left way.
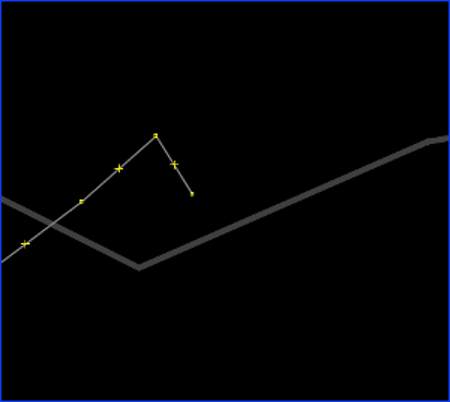
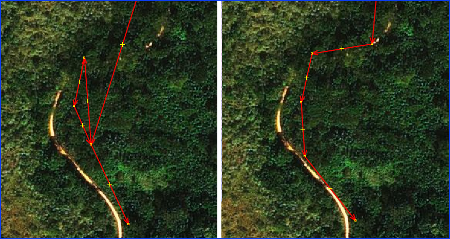
Next one is a self-intersecting way:
Checking the (hires) imagery, we see that we the best solution is to unglue the node where the way self-intersects. We also see that the track would need to be improved in its accuracy (it was traced with lowres Landsat).
5.3) Finally, we should correct the accuracy and correctness of those segments that need so.
Before we leave this point, we should run again the validator to check if there are any remaining errors to correct.
Merging the data with OSM
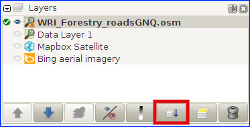
6) Next step is merging the DIAF data layer with the OSM layer and connecting with the DIAF tracks with the OSM highways when needed. For merging the layers, just select the DIAF layer and click on the Merge button:
Select the layer with which you want to merge both layers:
And then,
6.1) Proceed to join the DIAF ways with the OSM ones when needed.
6.2) Check for the crossing of DIAF ways with other features already present in OSM, like rivers and streams.
6.3) And finally, do a final check, correcting whatever errors we may still have.
Upload (import) the data
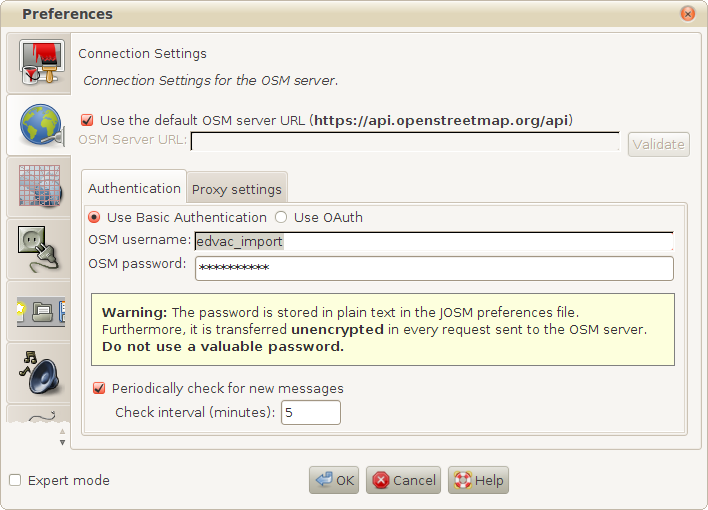
7) We are ready to import (upload) the data to OSM. Go to the JOSM -> Edit -> Preferences... and change the user and password to the special import user in the Connection Settings section.
8) Once you have done this, we can proceed with the upload. Press the JOSM upload button, resolve any error or warning that may still popup from the validator and, before we click on the Upload Changes button, we have to add the following changeset tags under the Tags of new changeset tab:
- comment=DIAF Roads import. DRC #project-NUMBEROFPROJECT
- created_by=JOSM/version
- source=DIAF
- import=yes
- url=https://wiki.openstreetmap.org/wiki/Import_DRC_DIAF_Roads
Where NUMBEROFPROJECT will be the TM project number.
11) It is done now. You can mark the task as done in the Tasking Manager, leave the comments and take another task to import more data!
Don't forget to switch to your regular OSM account when finished, so you don't do any other mapping with the import specific OSM account you were using for this import. It's a quite common mistake!
