User:Cobra/TipsAndTricks
Jump to navigation
Jump to search
JOSM
Load all objects of a changeset
For certain tasks you need to have all objects contained in a changest. This may be the case when fixing things when an edit went wrong (e.g. some objects were tagged the wrong way).
Requires:
- reverter plugin
How to do it:
- open a new (empty) layer
- History -> Revert Changeset
- enter the changeset ID, select "revert fully"
- load the changeset and all objects. JOSM will ask you to download objects which aren't contained in the current layer (which is empty), confirm this with ok.
- wait until everything has finished
- undo the revert operation by pressing ctrl-z (or using the button/menu)
- update data to be sure that everything is up-to-date.
- click upload to verify that there are "no changes to upload". If there are changes, look at the command stack/undo buffer.
- if needed, purge unwanted objects
Drawing buildings
These guides are focused on doing the job the most efficient way using keyboard shortcuts and as few steps as possible.
Requirements for all techniques:
- Basic knowledge of JOSM.
- Basic knowledge about drawing from aerial imagery.
Terraced buildings with existing house number nodes
Initial situation: house numbers were mapped as single nodes and proper aerial imagery is available. In this case 0.05m/px aerial imagery provided by Aerowest were used.
Requires:
How to do it:
- Switch to "Draw Buildings" mode (press b). Take the little overlap of the roof into account and click the upper right corner to start the base line.
- Finish the base line on the upper left corner. Now continue by drawing up the area, including the house number node. Take care to include a single node instead of multiple ones.
- Click to complete the building. The node will be deleted, the building will be tagged building=yes and will inherit all tags and relation memberships of the node.
- The next 3 steps are optional, especially useful for long rows of short buildings when it is difficult to get the orientation right on the first building. Doing this now will help a lot when buildings are offset from the center line. Switch to "Create areas" (press x). Extrude the area by ctrl-clicking the lower line to cover all connected buildings:
- Now correct the rotation and position.
- Use "Create areas" (x) to move the lower line back to its correct position. Switch back to "Draw buildings" (b)
- Begin the next building by clicking the lower right node of the previous one, draw the base line to the opposite node.
- Click on the node and draw up the building area.
- Repeat steps 7+8 until all buildings are drawn.
- Adjust single buildings if necessary, then select all connected buildings and move them to the correct position on the ground.
- Finally fine-tune by aligning the buildings with e.g. fences, walls and hedges.
Round extensions
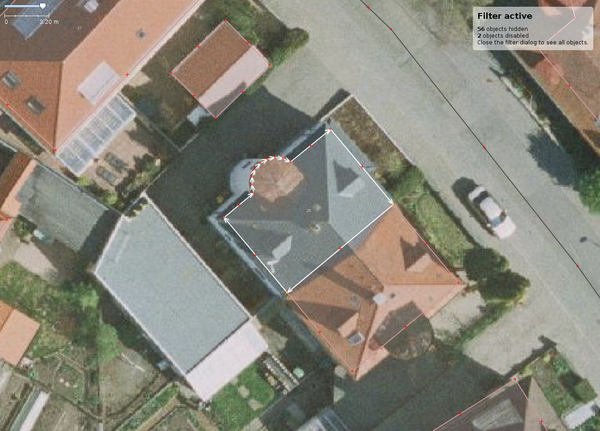
This describes how to create circular extensions of buildings like bays or stairwells.
Requires:
How to do it:
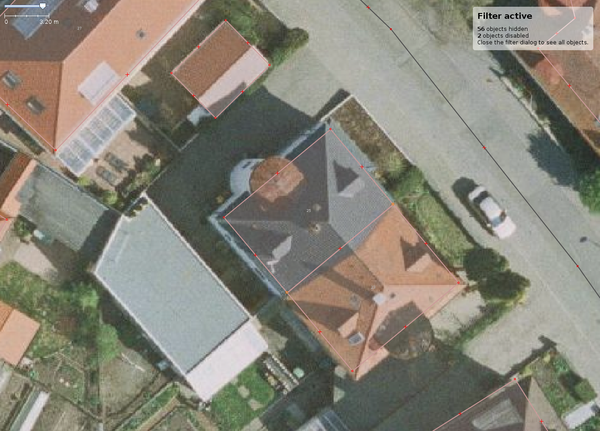
- Draw the building. If the extension isn't on the same height as the roof and the imagery isn't perfectly orthogonal move it accordingly.
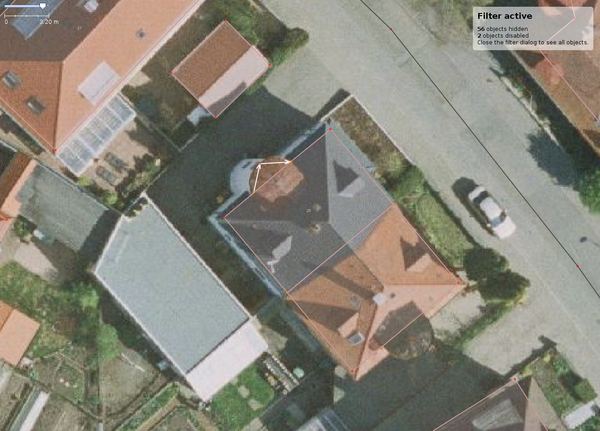
- Draw a way from one corner of the extension to the outer edge and the other corner. You don't have to hit the center line, any point on the edge will do.
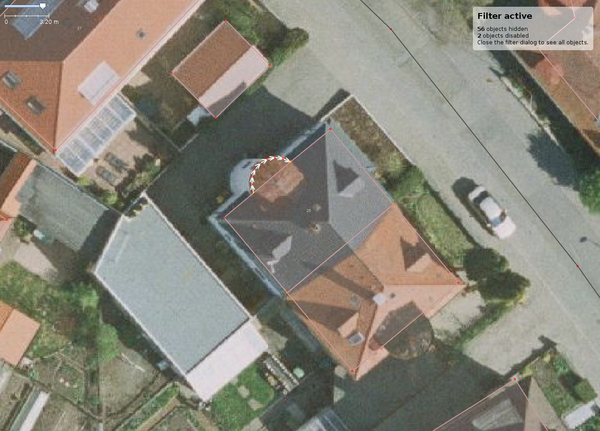
- Press shift-c to create the arc.
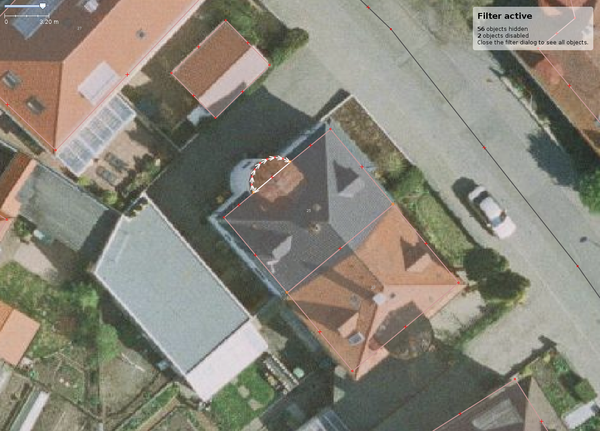
- Complete the way to form an area.
- Add the building to the selection by shift-clicking it, then hit shift-j to join both. Continue mapping the building.


